Foggy headlights cut the light your car throws onto a dark road, and most drivers notice the change slowly. A sedan that was bright three years ago now looks like frosted glass at night. The question most people search is simple: can a restoration kit fix the haze, or does the whole headlight need replacing? For most cars with surface yellowing, a kit with a real UV topcoat is the right first step. If the haze is inside the housing or the lens is cracked, only a new assembly restores full light output.
This guide is for a US driver with a plastic-lens headlight on a car still in daily use. It covers what causes the haze, how long a kit lasts, the signs of internal damage, a simple night check, and what to verify before you buy a replacement. Sunset comes early in late November across much of the country, so headlights do more work in the coming weeks. That makes this a good time to decide.
What causes the yellow haze on a headlight lens
Most modern headlight lenses are polycarbonate plastic. The factory applies a clear UV-blocking layer because bare polycarbonate breaks down in sunlight. When that topcoat wears away, the plastic yellows and scatters light instead of projecting a clean beam. The effect builds over several years, which is why many owners do not notice it until the low beams look weak on a two-lane road.
Sun exposure is the main driver. Cars parked outdoors in the Southwest, Florida, or along the Gulf Coast usually show haze sooner than cars kept in a garage in the Northeast. Road grit, salt spray in winter, and washing with a gritty brush add micro-scratches. Scratches make the cloudiness look worse, and they give the haze a place to start again after polishing.
Haze is uneven in most cars. The side facing the sun, usually the driver side in a car parked nose-out in the afternoon, often looks worse than the other lamp. Comparing the two lenses in daylight tells you whether you are dealing with a surface problem on one side or an age problem on both.
How long does a restoration kit actually last?
A full restoration kit has three stages: wet sanding to remove the yellow layer, polishing to clear the surface, and a UV clear coat to protect the lens. Kits that stop after polishing, or spray-and-wipe products without a real topcoat, usually last only a few months. Kits that finish with a proper topcoat are commonly described as lasting about one to three years. Most of those numbers come from vendors and blogs, so treat them as estimates.
Price is a rough guide to quality, not a promise. Restoration kits sold at US auto parts stores and online often run from about $15 to $40, while a polish alone costs less. A professional refinish with a urethane or acrylic clear coat costs more and is generally the more durable option. Sun-heavy regions may need resealing about once a year.
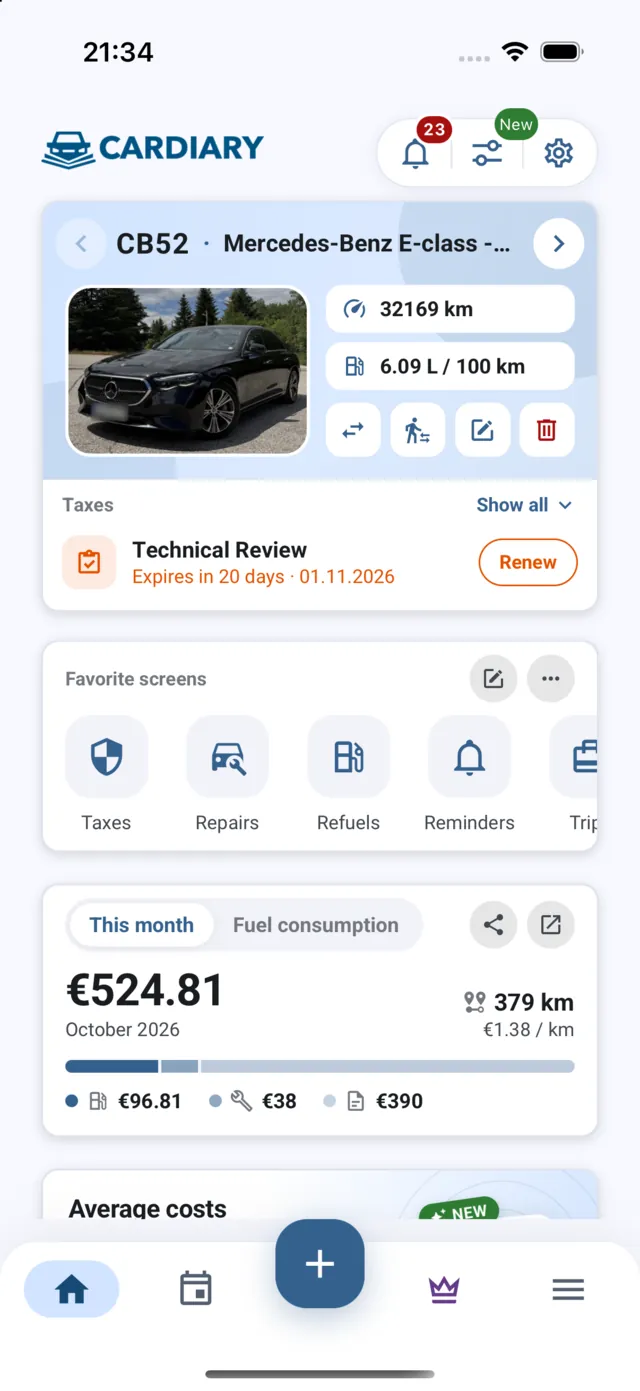
If you keep a maintenance log, write down the restoration date and the product used. In CarDiary, the service log is the place to record it, so you can see when the haze returns instead of guessing from memory.
Signs the damage is inside the headlight housing
Polishing cannot reach damage inside the headlight. Check for these signs before you spend money on a kit:
- Condensation or water droplets on the inside of the lens after rain or a car wash.
- A crack, chip, or hole in the plastic, even a small one near a mounting point.
- A cloudy pattern that stays after full sanding, or haze that returns within weeks.
- A failed seal, a loose housing, or a lamp that flickers when the beam is on.
- Dark spots or burn marks on the reflector behind the lens.
Any of these points to replacement of the assembly or a professional housing repair. Moisture inside the lens reduces output, and a kit cannot dry or reseal a housing. If the lens looks clear from outside but the beam is dim, the bulb or reflector may be the cause. Test a new bulb of the correct type before you replace the whole unit.
How to test your headlights at night before you buy anything
A simple check on a dark street tells you more than a daylight look. Park facing a flat garage wall about 25 feet away on a dry night, and turn on the low beams. The cutoff line should be sharp and level. If one lamp shows a fuzzy, dim, or uneven pattern while the other looks sharp, the problem is probably the lens or housing on that side.
- Check the low beam first, because that is what you use on most US roads after dark.
- Compare the two sides with the same bulb type and the same engine running.
- Look for a glow or halo around the lamp, which often means scattered light from a hazy lens.
- Run the test again after the car has been out in rain, since condensation can change the pattern.
Write down what you see. A clear, even beam after a kit is a success. A fuzzy beam that returns after rain points to a housing problem, and that changes the repair choice.
Replacing the headlight assembly: what to check first
A new assembly is the durable fix, but it is not a simple swap on every car. Start with the exact part number from the VIN or the label in the door jamb, because trim level, halogen or LED lamps, and adaptive lighting change which part fits. A dealer can confirm the number, and an independent parts supplier can often match it from the same data.
Buy a matched pair if both sides are hazy. Two new lamps keep the color and beam height consistent, while one new lamp next to an old hazy one can look mismatched. Ask the installer about aim after the swap. A lamp set a few degrees off can blind oncoming drivers or leave the road dark. Many shops adjust aim against a wall target, and in some states headlight condition is part of a vehicle inspection, so confirm the rule where you live.
Replacement cost varies widely by model. A single lens listing alone can exceed $300, and assemblies for some luxury or LED-equipped models cost considerably more. Get the part number first, then compare quotes for the same part from a dealer, a parts store, and an independent shop.
A Phoenix commuter example: kit first, then the assembly
Consider a driver who commutes about 30 miles each way on a Phoenix freeway in a 2017 crossover parked outdoors all day. The left lens has an even yellow haze, and the right has a small crack near the upper edge. The driver starts with a restoration kit on the left lamp. The work takes about 90 minutes in a shaded driveway, and the lens looks clear for the first cool season.
The right lamp fails the test. Within weeks of the crack, condensation appears inside the lens after a rainy morning, so the kit would only hide a housing problem. The driver orders a matched assembly for the right side from a parts store, checks the part number against the VIN first, and has an installer aim both lamps on the wall target. The repair cost is higher, but the beam pattern is sharp on both sides.
The lesson is that the same haze can need two different fixes on one car. Surface haze on an intact lens responds to a good kit. A crack or moisture inside the lens needs a new assembly, and no kit will change that.
Mistakes that make headlight haze come back faster
Most failed restorations come from a few repeatable errors. Owners skip the sanding step and polish over the yellow layer, which makes the lens look clear for a few days. They use sandpaper coarser than the kit calls for and leave deep scratches that the topcoat cannot fill. They forget to mask the paint and trim, so compound stains the bumper. They also work in direct summer sun, where the product dries before it levels.
- Skipping the wet-sanding stage and going straight to polish.
- Using sandpaper coarser than the kit calls for, then leaving deep scratches.
- Restoring in direct sun or on a hot hood, so the product dries too fast.
- Skipping the UV clear coat, which is the layer that slows the next yellowing.
- Running the car through an abrasive brush wash in the weeks after the restoration.
Mistakes like these explain why some owners say kits do not work. The fault is usually in the process, not the product category. Read the kit's instructions for temperature and drying time, and work in the shade on a mild day.
Foggy headlight questions drivers ask
Can I fix foggy headlights without a kit?
Mild cleaning can remove surface grime and make a lens look slightly better for a short time. It does not replace a UV topcoat, so the yellowing usually returns. A dedicated kit is the more reliable first step for surface haze.
How much does it cost to replace headlights?
It varies widely by car. A restoration kit usually costs tens of dollars, while a replacement lens or assembly can run several hundred dollars per side, and some models cost more. Get the part number from your VIN before you compare quotes.
Are foggy headlights a safety problem?
They can be. Haze scatters light and shortens the distance the beam reaches, which matters most on unlit rural roads and in rain. If you can see a clear difference between the two lamps, treat the problem as a safety issue, not a cosmetic one.
Do I need to replace both headlights at once?
Not always, but matched sides usually look and aim better. If one lamp is internally damaged, replace that one and check the other for haze so the beams stay even.